| Common Name | Anise |
| Botanical Name | Pimpinella anisum |
| Family | Apiaceae |
| Plant Type | Herbaceous, annual |
| Mature Size | 3 ft. tall, 18 inches wide |
| Sun Exposure | Full |
| Soil Type | Loamy, loose, well-drained |
| Soil pH | 6.0 – 7.0 |
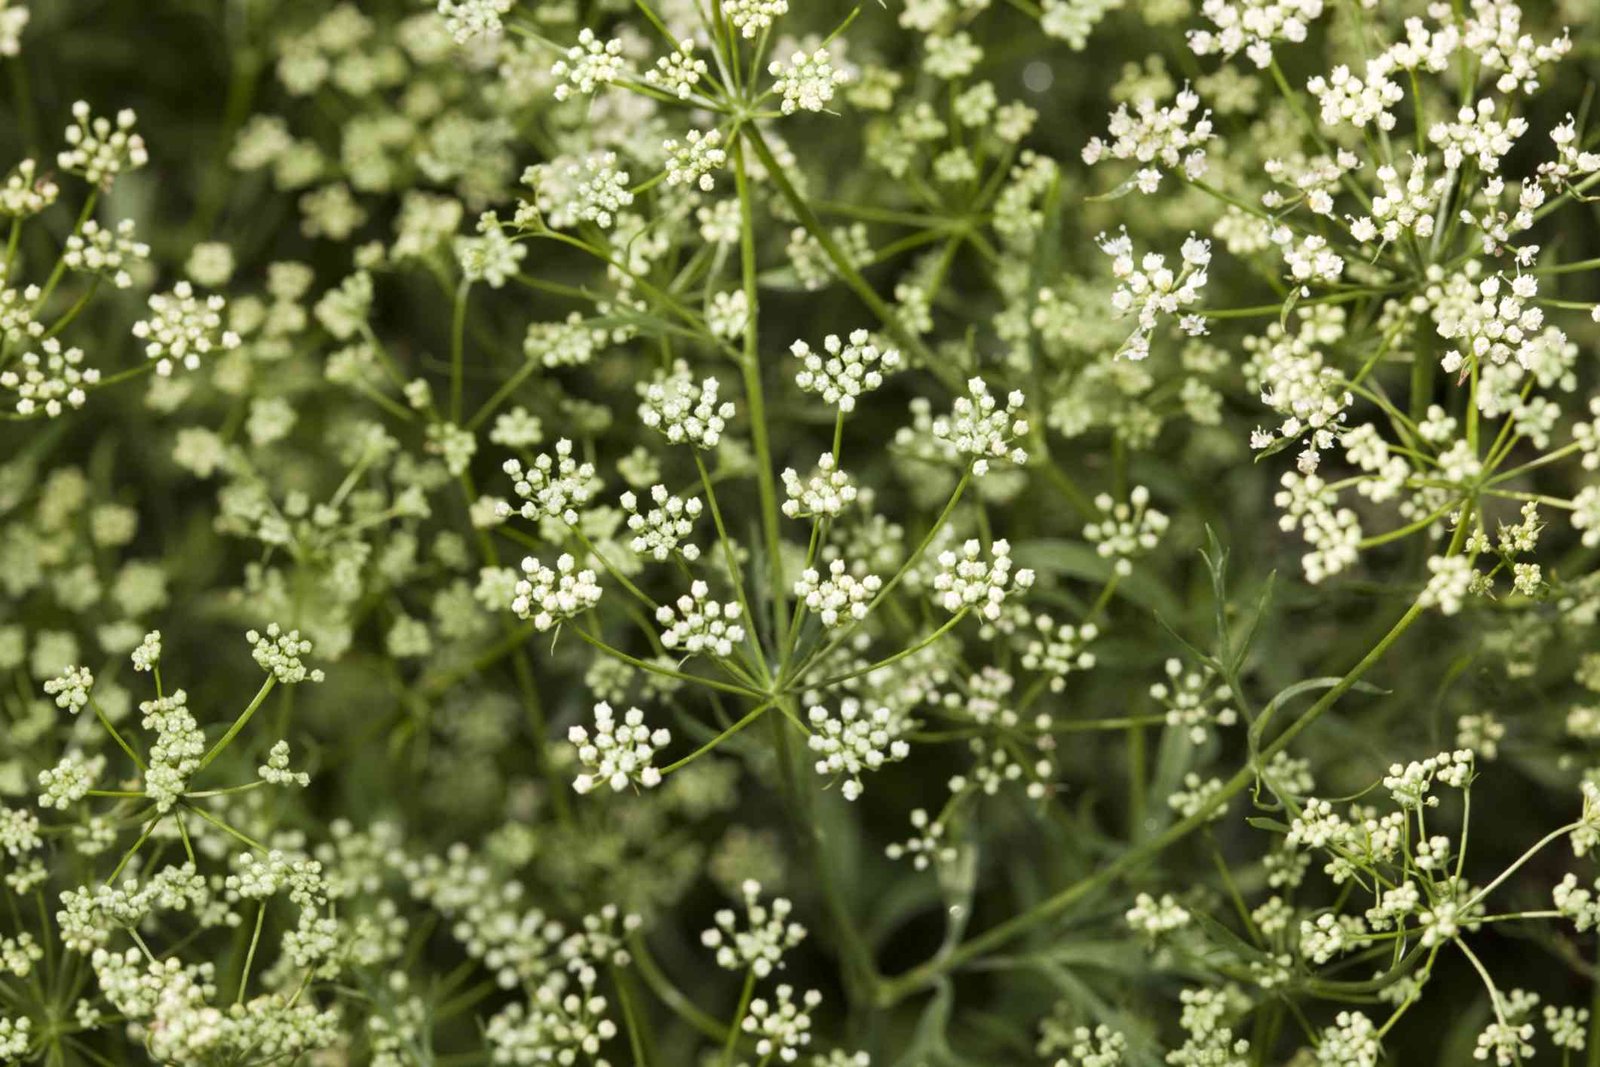
| Bloom Time | Summer, fall |
| Hardiness Zones | 4-10 (USDA) |
| Native Areas | Middle East, Africa |
Uses and Benefits
Anise is known and loved around the world in many cultures as an herb with many benefits. Aside from producing the bright, licorice-type scent many people recognize immediately, growing it can provide many benefits and uses:
- It can be used to make liqueurs.
- Crushed seeds can be used to make a potent oil that can be added to soaps, potpourris, and others.
- The crushed seeds can be added to many dishes when cooking and baking. They can also be used to make a tea.
Anise Care
Here are some key requirements for growing anise successfully:
- Use well-drained, loose, loamy soil.
- Plant in an area with lots of direct sunlight and long sunny days for the best chance of harvesting seeds.
- Not all USDA zones will be able to grow anise successfully enough to harvest its seeds, but can still grow it and enjoy its other benefits.
- Water twice weekly when the plant is young, and then less as it matures.
- Fertilizer isn’t necessary, but add some compost around early July.
- If the seeds become too heavy as the plant matures, prop them around a stick or put a tomato cage over them to offer support.
Light
Anise will thrive best in climates with lots of long, sunny days and may struggle in areas with longer periods of overcast skies. Planted in partial sun the plant may still grow and thrive, but will never produce seeds. To produce seeds, anise needs full, direct sun and long hours of sun.
Soil
Anise will do best in well-drained, loamy soil with plenty of space for water to move through. Overly compact or sandy soil will not be a good fit for this herbaceous annual.
Water
This plant requires only a low to moderate amount of water, and you should avoid overwatering it. After planting seeds and until plants reach about 8 inches tall, water twice per week. Then slow down watering a bit.
To avoid mildew or other issues, water directly on the soil, rather than the foliage, and try to water in the morning when possible.
Temperature and Humidity
For maximum plant success and for seeds to ripen fully, anise should be grown in temperatures generally between 45 and 75 degrees Fahrenheit. However, temperatures somewhat higher won’t kill the plant. It can withstand short periods of drought but will be most likely to produce seeds between this temperature range and with consistent watering.
Fertilizer
Once actively growing, anise doesn’t really require fertilizing to grow and thrive. Some added compost earlier in the summer is helpful, and not much more is necessary from there.
How to Grow Anise from Seed
Anise is unlikely to thrive or even survive if transplanted as a seedling, so planting from seed is the best course of action, and can provide you with more seeds at the end of the season to use for your next planting year. Choose the space you want to plant in, whether a container bed, or directly in the ground. The key thing is waiting for the soil to be a suitable condition for your seeds, at least 60 degrees Fahrenheit.
Anise seeds are very small and you may find it easier to use a seed syringe or disperse the seeds in a bit of sand to make them easier to transplant into soil. Create rows of seeds spaced 2 to 3 feet apart, with about 12 seeds per foot of space in the row. Make sure your soil is loose and well-draining, and push seeds in about half an inch.
Overwintering
In all USDA zones, anise is an annual and will live out its full lifespan in one growing year. For this reason, overwintering isn’t particularly necessary. However, if you live in an area with early cold seasons and want to extend the lifespan of your plant for a little longer, opt for container planting, and then move your anise indoors before the first frost of fall. Remember that you’ll need to move it to a warm spot in front of a window where it will get lots of sun.
Common Pests and Diseases
Like any plant, anise can be prone to attracting some pests or diseases, which can kill your plant or weaken it so you won’t be able to harvest seeds. Here are some common issues to watch for:
- Mice: Mice are attracted to the licorice scent of this herb, and will try to eat its seeds. To avoid this, keep the seeds off the ground as they grow, and harvest as soon as they’re ready.
- Cutworms: These garden pests are prone to making a home and meal of your anise, and damaging or killing off your plants. The easiest solution is to make a barrier around your plant’s stem so the worms aren’t able to climb aboard. You can even do so by cutting a line down a toilet paper or paper towel tube and wrapping it around the stem.
- Aphids: Some of the worst garden pests out there, aphids are certainly a danger to anise. There is a huge range of tips out there for getting rid of aphids, including neem oil, garlic spray, and soap solutions, but try some methods out for yourself to see what’s best for your garden.
- Downy Mildew: This is a very common disease among many plants, appearing as yellow or white splotches on the tops of leaves, or a cottony growth on the bottom. To prevent or control this disease, prune low leaves on your plant, so they’re not touching the ground, and trim excess foliage if it starts to crowd other plants. Water directly onto the soil, rather than onto the leaves. Neem oil sprays can also help.
How to Harvest Anise Seeds
One of the primary goals for many growing anise is to harvest its seeds at the end of the season in order to use in baking, cooking, teas, medicines, and more, and to regrow the delightful herb in future years. As long as your plant has gotten lots of sunlight all season and is thriving, this is a fairly simple task to complete.
As soon as your plant goes to seed, it’s done for the season and ready to be pulled, seed harvested, and composted. You can also leave dead plants in your growing space and they may self-sow and return on their own in the coming growing season.
You can harvest seeds earlier in the season if you need some for baking or cooking, or want to thin out your plant. You can cut off seed heads when the seeds have turned from green to gray, meaning they’re finished developing. Take a large paper bag, cut some air holes in the sides, and insert your seed heads inside. Leave the bag alone for a week or two and allow them to dry out. The seeds will naturally start falling off and being collected inside the bag. After a bit, you may choose to shake the bag and dislodge additional seeds.
Once you’ve harvested, you can ready your seeds for preserving or use by toasting them for a few minutes in a pan. Toasted seeds can’t be used to grow new plants, but they can be stored in an airtight jar for up to a year for use in the kitchen and your home apothecary.